APPROX FILLING
700L of Bean Filling - sourced separately.
Where to Purchase Filling - Please read our Where to Purchase Bean Filling for directions on where to purchase your bean filling.
How to Fill & Shape Your Bean Bag
What's Included:
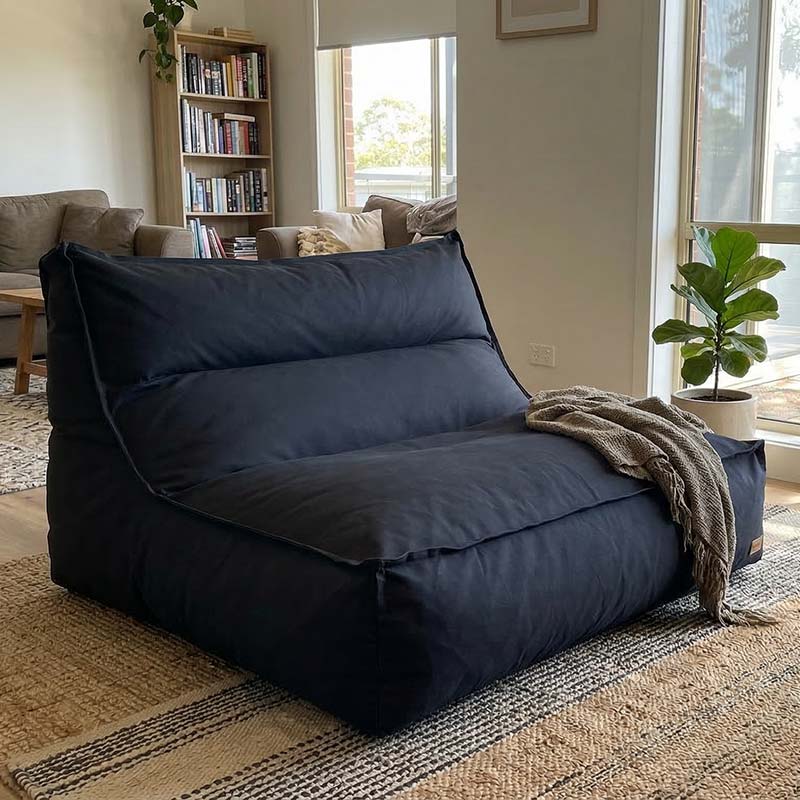
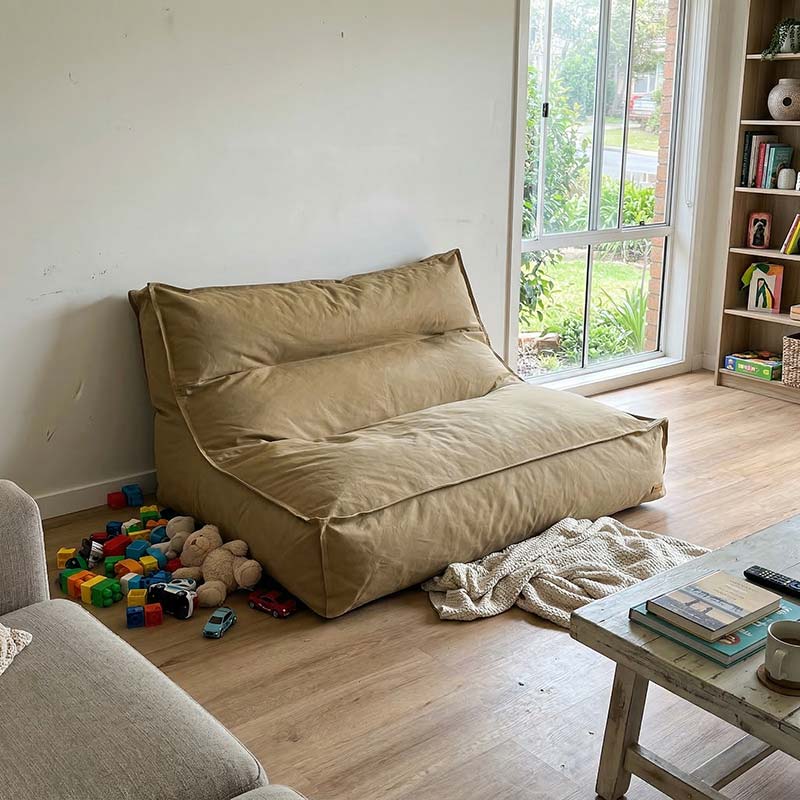
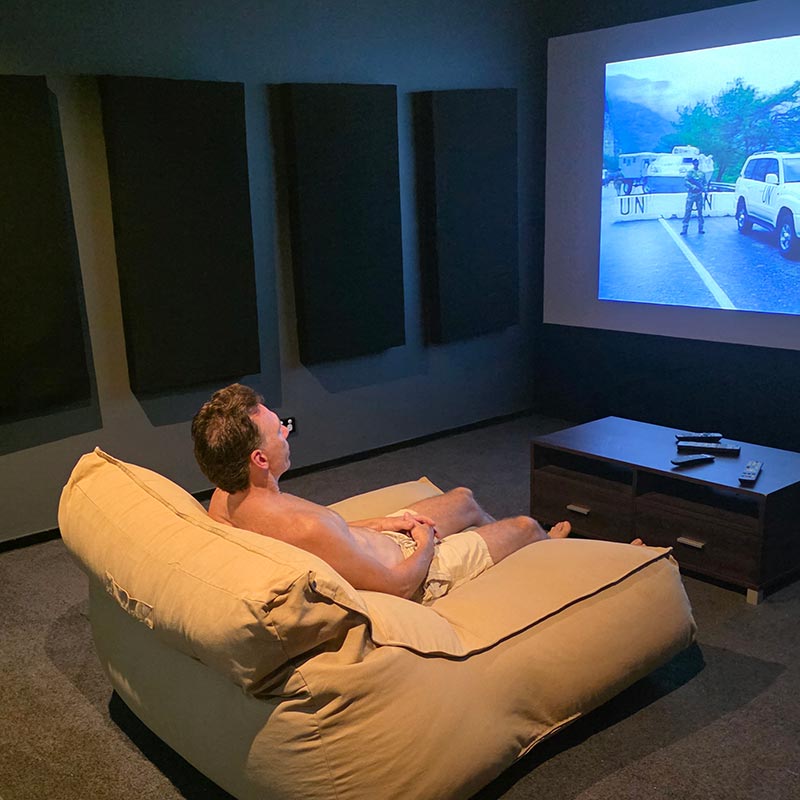
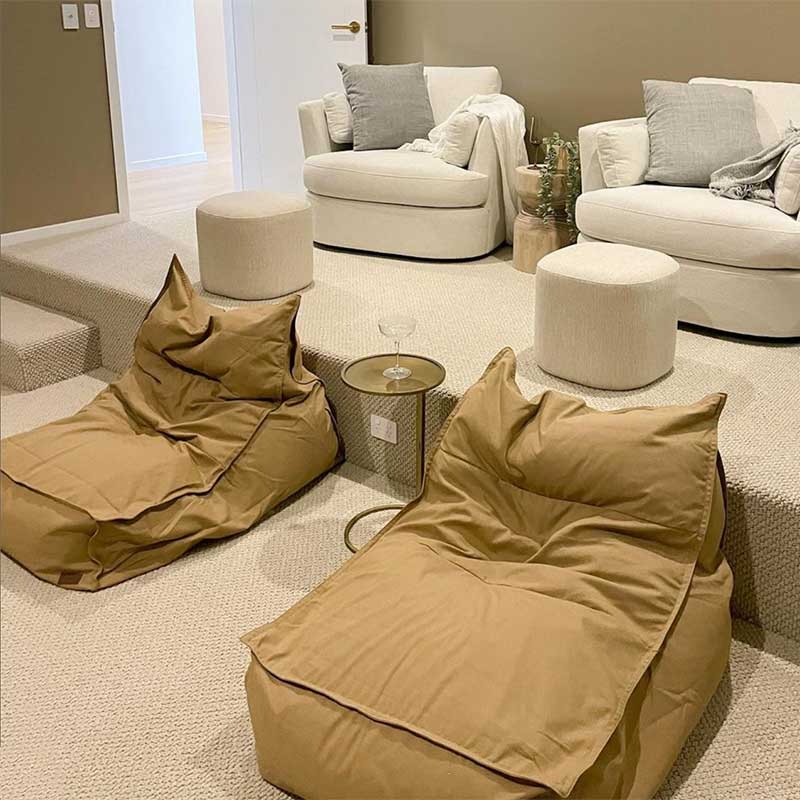
- The Mooi Cord Double Cover
- 3 x White Mesh Inner Liners
What extras you’ll need
- 700L of Polystyrene Bean Filling (not included)
- Inner mesh liner included with your bean bag
- A wide-mouth funnel (or make one from cardboard)
- Scissors
- A helper (highly recommended)
- A contained space like a bath
- A paperclip
Step-By-Step Instructions
1. Set up your space
Set up in a small, enclosed area such as a bathroom or over a plugged bath. This makes it easier to catch any stray beans. Keep windows and doors closed to prevent them blowing around.
Please keep children and pets out of the room - the beans are tiny and can be a choking hazard.
2. Open the child-safe zippers
All of our bean bags have safety zippers without a pull tab. You can slide a paperclip or safety pin through the eyelet to gently open the zip. Remove it once closed again.
3. Fill the INNER MESH LINER first
Place the outer cover aside for now.
There are 3 White Inner Liners marked 1, 2 & 3.
Mark 1 - requires approx: 300L and is the front section of the seat, where your legs will hang over.
Mark 2 - requires approx: 80L and is the top section, where you will rest your head.
Mark 3 - requires approx: 300-320L and is the middle section, which will support your body.
Fill each liner one by one.
Open the white inner mesh liner and insert your funnel. Cut a small corner off the bean filling bag (NOT THE MESH LINER, THE PLASTIC BEAN FILLING BAG) so you can control the pour.
One person holds the liner steady while the other pours slowly.
4. Fill in stages - don’t rush it
Add some beans, close the liner temporarily, give it a gentle shake and pat to let the filling settle, and check the firmness.
You’re aiming for supportive, not rock-hard.
You're best to under-fill, than over fill. Test occasionally until you are happy with the firmness.
5. Seal the liner completely
Once you’re happy with the fill level, zip the liners closed securely.
6. Insert the liners into the outer cover
Mark 1 - Place this inner liner at the bottom of the bean bag. Wrap the Velcro strap around it - it does not need to fit perfectly, but if it does not close at all, you may have slightly over-filled the inner bag.
Mark 2 - This inner bag goes at the opposite end of Mark 1 and it also needs the velcro strap around it. Again, it does not need to be perfect wrapped around. This is where you will rest your head.
Mark 3 - Place this inner bag in the middle. Line up the seams so they are on the side of the other inner bags.
Once all three liners have been placed in the right position, close the main cover.
7. Close & shape
Zip the outer cover closed, then give the bean bag a few shakes, pats and rolls. Sit in it, lean back, move around a little - this helps the filling settle into place.
If you’d like it firmer, simply remove the liner and add a touch more filling. It’s always easier to add than to have to remove filling.
Shaping Tips
- Make sure the inner liner sits neatly inside the cover with the seams and zippers lined up. You can usually tell where everything needs to go by matching the liner seams and zipper position with the seams on the outer cover.
- You may need to gently push, pat and play with the liner for a little while to guide the filling into place and create the right shape. Think of it like fluffing a pillow - a little adjustment makes a big difference.
- If the bean bag still isn’t holding its shape, it usually means either the liner isn’t positioned correctly or it simply needs a little more filling.
- And remember — they’re bean bags, so they may need an occasional fluff and reshape to keep them looking their best.
Safety Notes
- Always keep zippers fully closed when finished
- Keep filling away from children and pets
- Fill slowly to reduce static and mess